Apple Cinnamon Sourdough Bread Recipe
Yield: 1 loaf
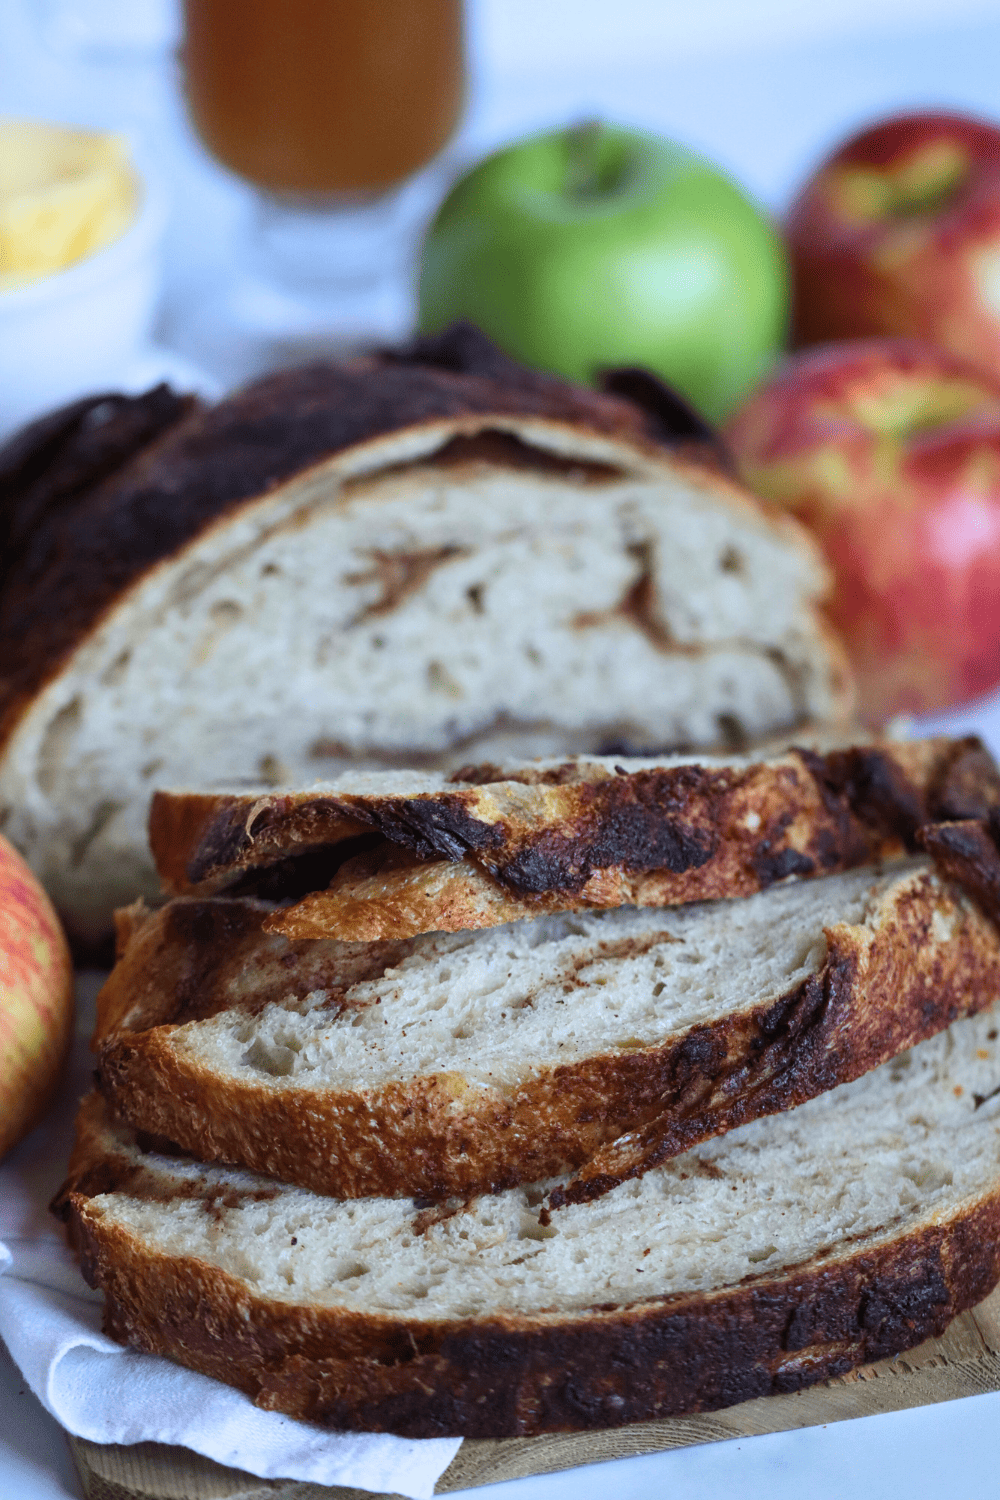
Apple cinnamon sourdough bread is easy, cozy, and full of fall flavors with juicy apples, warm cinnamon, apple cider and a subtle tang from starter.
Equipment
Ingredients
Apple Cider Sourdough Bread Dough
- 100 grams active sourdough starter 1/2 cup
- 175 grams apple cider scant 3/4 cup
- 200 grams honey crisp apples, grated about 2 medium apples
- 500 grams bread flour 3 1/2 cups
- 12 grams salt 2 teaspoons
Cinnamon Sugar Swirl
- 57 grams unsalted butter, room temperature 4 Tablespoons
- 55 grams light brown sugar 1/4 cup
- 6 grams ground cinnamon 1 Tablespoon
- 5 grams all-purpose flour 1 1/2 teaspoons
Instructions
Make the Dough
- In a large mixing bowl, add active sourdough starter, room temperature apple cider, and grated apples. Mix with a dough whisk or your hand until it looks like a tan, milky liquid.100 grams active sourdough starter, 175 grams apple cider, 200 grams honey crisp apples, grated
- To the wet ingredients, add the bread flour and salt. Be sure to mix until all of the flour is incorporated. The dough will feel on the drier side, this is okay. The grated apples will continue to release liquid into the flour, which will make the dough more pliable and stretchy.500 grams bread flour, 12 grams salt
- Cover the bowl with plastic wrap (I use a reusable shower cap) and let the dough rest for at least 30 minutes before you move on to the next step.
Stretch and Folds
- With slightly wet fingers, scrape a piece of the dough away from the bowl. Grab a section of the dough and stretch the bread dough above your bowl. Then fold over on top of the dough. Again, since the grated apples are releasing liquid, the dough will feel more stiff the first round of stretch and folds.
- Rotate your bowl clockwise a quarter of the way and repeat identical stretch and fold. Repeat the process until you come full circle, about 4-6 times. You will notice the dough will start to look much smoother than before.
- Cover the dough again and let it rest for another 30 minutes.
- Repeat the same stretch and folds for a total of 4 rounds with at least 30 minutes of rest in between each set. Cover the dough after each round of stretch and folds.
- Once you have completed the final set of stretch and folds, cover the dough and let it rest for the remainder of the bulk fermentation on your counter, about 7-9 more hours if the dough is kept at 70 degrees F.
Bulk fermentation
- Now this is the most finicky part of sourdough. There isn’t a set time for your bulk ferment. It is greatly dependent on the temperature of your environment and ingredients. The warmer it is, the faster your dough will ferment. The opposite is true for cooler temperatures.
- In an environment of 70 degrees, doughs will typically bulk ferment for 7-9 more hours after the stretch and folds, but again, you will have to look for the signs that your dough is done fermenting, rather than the clock. Warmer temperatures will be faster, while cooler temperatures will be slower.
- Here’s what to look for:-The dough should have increased in size by at least 75% and be domed on top.-The dough looks light, and jiggles when the bowl is shaken.-The dough should easily pull away from the bowl.-There should be visible bubbles in the dough and on top.-The dough doesn’t tear when you do a windowpane test
Pre-shape
- With slightly wet fingers, gently release the dough from the sides of the bowl. Be careful not to pop all of those lovely bubbles! Tilt the bowl and leave gravity to do the work to move the dough on the counter.
- Shape the dough by doing another round of stretch and folds until you have gone full circle.
- With a bench scraper or your hands, turn the dough upside down, so the seam is now on the counter. Cover the dough with the bowl and let it rest for 30 minutes.
- While you are waiting for the dough to rest, prepare your proofing basket. This can either be a banneton or a small mixing bowl lined with a tea towel. The purpose of this proofing basket is to keep the tight shape that you will create, so make sure you are using a standard bowl that is small enough to help keep the shape.
- Dust the banneton or the tea towel with flour (most will say to use rice flour, but I have used just regular all-purpose flour) to prevent sticking.
- You will also prepare the cinnamon sugar filling. Add the softened butter to a bowl of a stand mixer with the paddle attachment. This can be done with a hand mixer. To the butter, add the brown sugar, cinnamon and flour. Mix on medium/low speed for about 2 minutes, or until the ingredients are combined and a paste is formed. Set to the side.57 grams unsalted butter, room temperature, 55 grams light brown sugar, 6 grams ground cinnamon, 5 grams all-purpose flour
Final shape
- After 30 minutes of rest, flip the dough, with the seamed side up.
- Gently stretch the dough into a large rectangle, about 10 x 11 inches (does not need to be exact), this is called the lamination technique. Refer to the pictures above. Be careful not to stretch any sections of the dough too thinly, as the cinnamon sugar will break through.
- Spread half of the cinnamon sugar filling over the top of the dough, leaving at least an inch perimeter around the dough without the filling. This helps to seal the dough when shaping.
- Next, take the left side of the dough and fold it towards the middle. Spread 1/2 of the remaining cinnamon filling on top of this new section.
- Finally, take the right side of the dough and fold that towards the middle on top of the last section, like a tri-fold. Spread the remaining cinnamon filling on top. Now, roll up the dough, starting with the part of the dough closest to you.
- Gently cup your hands around the dough ball. Turn the ball in a clockwise motion about a quarter turn and then softly pull the dough towards you. Do this repeatedly until you see the dough form a tighter and more round shape.
- With a bench scraper or just your hands, carefully scope up the dough and lay it upside down (seam side up) into your tea towel-lined/floured proofing basket and cover it with a plastic bag or a shower cap.
Cold proof
- Place your proofing basket in the fridge to cold-proof for 8–72 hours.Placing your dough in the fridge slows down the fermentation process, which deepens the flavors of your loaf. It also gives you flexibility in when you want to bake your bread.But don’t wait too long! If left in the fridge for too long, your dough will over-ferment, causing the dough to not be able to rise while baking.
Score
- 30 minutes before baking, place the dough in the freezer. This helps with the scoring design.
- At the same time, place your Dutch oven in your oven and preheat to 500 degrees F. Allow the Dutch oven to preheat for at least 30 minutes.
- Place a piece of parchment paper on your workspace and gently flip the banneton upside down over the parchment paper. Since you dusted the banneton, your dough should slowly release and fall onto the parchment paper, landing in the middle with the floured side facing up.
- With a lame / razor blade or sharp knife, score a crescent moon shape on top of the dough. This is necessary for your bread to be able to expand while baking.
- Grab the corners of the parchment paper and carefully place the Apple Cider dough into your preheated Dutch oven and cover with the lid.
Bake
- Lower the oven to 450 degrees F and bake the bread covered for 30 minutes. Then remove the lid of the Dutch oven and continue to bake the bread for an additional 10-15 minutes with the lid off at 425 degrees F.If your crust is browning too quickly, cover the top with aluminum foil while you continue to bake.
- Once golden brown with the internal temperature at least 205 degrees F, remove the Dutch oven from your oven.
- Using the corners of the parchment paper, lift the sourdough bread out of the Dutch oven and place it onto a wire rack to cool.
- Allow your homemade bread to cool for at least 1 hour before cutting into it. (I know!! How can you possibly wait when it looks and smells so good?! But trust me, if you cut in too soon, your masterpiece will turn gummy.)
- Once the hour is up, slice into your work of art and slather on some butter (or maybe some honey cinnamon butter) and enjoy!
Notes
Ingredients & Substitutions
- Bread flour: This gives you the best results when it comes to making sourdough bread, and that's because of its higher protein content. It gives your dough strength, so it can rise tall and develop that chewy, satisfying texture we love in a good loaf. Using bread flour helps you get a sturdy crumb that holds up to all that juicy apple and cinnamon filling.
- Apple Cider - Apple cider adds flavor and consistency that apple juice or water just can’t match. You can grab it at local orchards or most grocery stores. Many ciders include warming spices like cinnamon, which can slow bulk fermentation a bit, so pay attention to how your dough looks and feels rather than just the clock. The cider gives the bread a subtle tang that balances the sweetness of the apples and sugar.
- Apples – I love using Granny Smith and Honeycrisp for this loaf. They’re slightly tart, which balances the sweetness, and they stay juicy through baking. You can also try other fresh apples like Pink Lady, Gala, or a mix of your favorites. Grating the apples instead of cubing them keeps the crumb more intact while giving the bread a nice, consistent apple flavor throughout.
Filling
- Unsalted Butter – Use softened, room-temperature butter for the easiest mixing and spreading. It helps the cinnamon sugar stick evenly to the dough so each bite has that little buttery richness. You can use salted butter if that’s what you have, but I usually go unsalted so I can control the sweetness and salt balance myself.
- All-Purpose Flour – Adding a bit of flour to the cinnamon sugar helps keep it from oozing out as the bread rises. Your cinnamon swirls will stay neat and look lovely in every slice.
- Cinnamon – Cinnamon is the not-so-secret ingredient that gives this bread its warm, cozy fall flavor and aroma. Layer it in the filling to create those beautiful swirls that catch your eye when you slice the loaf. If you want a sugar-free option, you can sprinkle the cinnamon directly into the dough using the lamination technique.
Recipe Tips:
- Sugar draws moisture out from the dough, so it is important to work quickly when adding the cinnamon sugar filling and shaping your loaf. If you take too long, the dough will start to be a sticky mess.
- The dough will feel slightly sticky when your first mix and perform the first stretch & fold. As you continue to perform stretch and folds and the flour continues to absorb the liquid from the apples and apple cider, it will be easier to work with.
- If you prefer a sugar-free filling, skip the butter, sugar and flour and instead sprinkle on the cinnamon during the lamination step.
How to Store
Store sourdough at room temperature in a paper or linen bag for up to three days to maintain its crust. Avoid plastic, as it traps moisture and makes the bread soggy. For longer storage, freeze the sliced or whole loaf by wrapping it in plastic wrap and placing it in a freezer bag for up to three months. Thaw at room temperature or reheat in a toaster or oven. *Refrigeration is not recommended, as it dries out the bread and affects texture.Nutrition
Serving: 12g | Calories: 2731kcal | Carbohydrates: 492g | Protein: 65g | Fat: 55g | Saturated Fat: 31g | Polyunsaturated Fat: 6g | Monounsaturated Fat: 13g | Trans Fat: 2g | Cholesterol: 123mg | Sodium: 4694mg | Potassium: 1010mg | Fiber: 21g | Sugar: 93g | Vitamin A: 1562IU | Vitamin C: 11mg | Calcium: 224mg | Iron: 6mg
Tried this recipe?Please leave a comment on the blog or share a photo on Instagram!