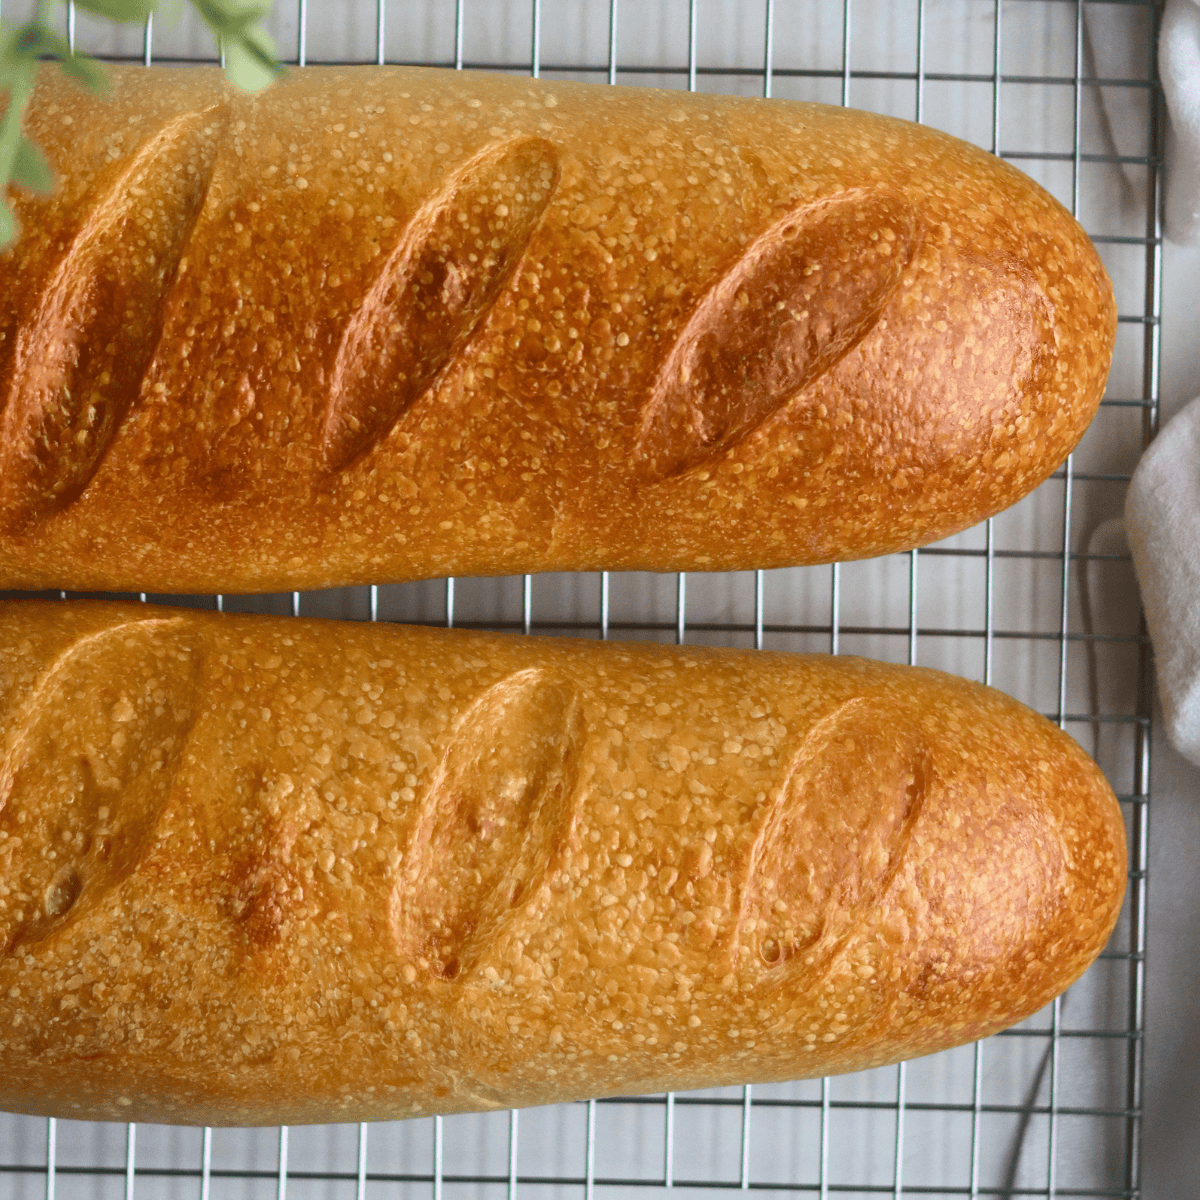
Sourdough French Bread Recipe
Yield: 2 loaves
Made with active sourdough starter, this Sourdough French Bread has a soft airy crumb, incredible flavor, and that homemade quality you simply can’t get from a store-bought loaf.
Ingredients
- 250 grams active sourdough starter 1 1/4 cups
- 380 grams water 1 1/2 cups + 1 Tablespoon
- 50 grams olive oil scant 1/4 cup
- 25 grams sugar 2 Tablespoons
- 800 grams bread flour 5 3/4 cups
- 18 grams salt 1 Tablespoon
Instructions
Mix Dough
- To the bowl of a stand mixer with a dough hook, add the warm water, sourdough starter, olive oil and sugar. Use a Danish dough whisk to mix until you have a milky liquid. My water was 105 degrees F. Any hotter than 120 degrees F can kill the starter. If you use cooler water, the dough will take longer to rise.250 grams active sourdough starter, 380 grams water, 50 grams olive oil, 25 grams sugar
- Add the flour and salt to the wet ingredients. Mix on low speed for 2-3 minutes until the ingredients are fully combined.Alternatively, you can mix and knead the dough by hand. I would increase the time from 15 to 20 minutes.800 grams bread flour, 18 grams salt
- Increase the speed to medium low and continue to knead for 10-15 minutes. The dough should be pulling from the sides of the bowl, be smooth and tacky to the touch - not sticking to your hand.
First Rise
- Remove the dough from the bowl, divide it into two even pieces (750 grams) and place the dough into two lightly greased bowls, or one bowl if it is large enough. Cover with a plastic cover and wait until they have doubled in size. In my 70 degree F kitchen, this took about 5-6 hours. This depends greatly on the temperature of your dough and environment. The warmer your environment, the faster your dough will rise. The opposite is true for cooler kitchens. I love these straight-edge bowls because it allows me to clearly see when the dough has doubled in size.
Shape
- Once the dough has doubled in size, punch it down to remove all of the air bubbles. This helps to keep a tight crumb. Then, place the dough on a clean work surface.
- Stretch or roll one of the dough balls into a large rectangle with a rolling pin, about 13 inch x 9 inch, doesn’t have to be exact . Starting with the longest side closest to you, roll the bread dough into a log, like you would a cinnamon roll. Curl the ends of the French bread dough under itself and pinch the seams together. Repeat with the second dough ball.
Second Rise
- Gently place the shaped loaves onto a parchment paper-lined baking sheet with the seam sides down. With a lame or very sharp knife, cut 4-5 slashes onto each shaped dough. Cover the dough with a plastic cover or plastic wrap and allow it to rise until the dough has risen and looks puffy. This took 2-3 hours in my 70 degree kitchen. It is tempting to rush this step, but don’t! If your loaf has not risen properly, it will be dense and gummy. Not ready to bake? See Notes below.
- While the dough is rising, preheat the oven to 375 degree F. Just before placing the loaves in the oven, brush the tops of each loaf with an egg wash.
Bake
- Bake for 25-30 minutes or until the top is golden brown and the internal temperature has reached 190 degrees F. If the tops are browning too quickly, cover it with a piece of aluminum foil and continue to bake.
- Remove the loaves from the hot oven and allow them to cool until room temperature before slicing. For an extra soft crust, rub butter on the top of the warm loaves. Enjoy!We also love turning this into the best Sourdough Garlic Bread!
Notes
MAKE-AHEAD Options
If you are looking to prepare this Sourdough French Bread the night before and bake them the following day– here are some options and tips! Option 1: Prepare the dough and once it has doubled in size, cover the bowl and chill in the fridge overnight. The following morning, shape the sourdough French bread loaves and allow them to rise and get fluffy in a warm place before baking as normal. Since the dough is cool from the fridge, the second rise will take longer to complete. Option 2: Prepare the dough and shape the French bread the night before, then pop the covered baking sheet into the fridge overnight. Pull out the unbaked loaves to allow them to rise and get fluffy in a warm place. In my 70 degree F kitchen this took about 3-4 hours. Option 3: Prepare the dough and shape the loaves, then pop the covered baking dish into the freezer overnight. Once frozen solid, cover the sourdough French bread with plastic wrap and aluminum foil and store for up to 1 week for the best results. When ready to bake, place the frozen French bread on a parchment paper-lined baking sheet. Cover and place them in the refrigerator the night before. The next day, take them out of the fridge and allow them to rise in a warm place until fluffy. Again, in my 70 degree F kitchen, this took about 3-4 hours.Ingredients & Substitutions
- Sourdough Starter – You’ll get the best rise from an active and bubbly starter. For the best results, use an active sourdough starter, not sourdough discard. But if you’re looking to use up some sourdough discard and a have a faster rise time, check out my Sourdough Discard French Bread recipe.
- Bread Flour – I used bread flour for this recipe. Bread flour has more protein than all-purpose, and that’s what gives you that chewy, hearty bite. You can swap it for all-purpose no problem, but you’ll notice the difference in the chew.
- Sugar – A touch of sugar gives the dough a softer crumb. You can substitute it with the same amount of honey in grams, or leave it out altogether.
- Olive Oil – A little olive oil really helps. It keeps the inside of the loaf soft and tender. Any neutral oil will give this bread the soft interior you want.
Nutrition
Serving: 2loaves | Calories: 1827kcal | Carbohydrates: 326g | Protein: 51g | Fat: 32g | Saturated Fat: 4g | Polyunsaturated Fat: 6g | Monounsaturated Fat: 19g | Sodium: 3508mg | Potassium: 401mg | Fiber: 10g | Sugar: 14g | Vitamin A: 8IU | Calcium: 68mg | Iron: 4mg
Tried this recipe?Please leave a comment on the blog or share a photo on Instagram!